
Yes, you can capture stunning, intimate boudoir photos using just your iPhone! This guide reveals the secrets to beautiful results, focusing on simple techniques and leveraging your iPhone’s powerful camera. Get ready to feel confident and create gorgeous, personal memories from the comfort of your own space.
Taking boudoir photos can feel like a big step, and maybe a little intimidating. You might think you need fancy equipment or a professional studio to get those beautiful, artistic shots. But what if I told you your iPhone is more than capable of creating breathtaking boudoir images? It’s true! With a few smart tips and tricks, you can unlock your iPhone’s potential and capture intimate, empowering photos that you’ll cherish. Forget the stress; we’re going to make this easy, fun, and incredibly rewarding. Let’s explore how your everyday device can help you create something truly special.
Unlocking Your iPhone’s Potential for Intimate Photography
Your iPhone is a remarkably powerful camera, often underestimated for its ability to capture nuanced and artistic photographs. For boudoir, this means you have a discreet, accessible tool right in your pocket. The key is understanding how to use its features to your advantage, focusing on lighting, composition, and embracing a comfortable, confident approach. This isn’t about technical perfection; it’s about capturing your essence in a way that feels authentic and beautiful. We’ll break down how to transform your iPhone into your personal boudoir photography studio.
The Secret Ingredients: What You’ll Need (Beyond Your iPhone)
While your iPhone is the star, a few simple additions can elevate your boudoir photos from good to absolutely stunning. These are all beginner-friendly and readily available, so you don’t need to invest a fortune.
Essential Gear for Your iPhone Boudoir Shoot:

- Your iPhone: Obviously! Make sure it’s charged and has plenty of storage space.
- Natural Light: This is your best friend. A window with soft, diffused light is ideal.
- A Tripod (Recommended): Even a small, flexible one that can stand on its own or attach to furniture is a game-changer for stability and self-portraits. This helps avoid blurry shots and allows you to get into position without holding the phone.
- A Remote Shutter (Optional but helpful): Many tripods come with one, or you can use your Apple Watch or the timer function on your iPhone. This lets you trigger the photo without touching the phone, further preventing camera shake.
- Comfortable and Confidence-Boosting Outfits: Think lingerie, a favorite oversized shirt, a cozy robe, or even just stylish undergarments. Choose what makes you feel amazing.
- Props (Optional): A soft blanket, a silky scarf, a book, or flowers can add interest and texture to your shots.
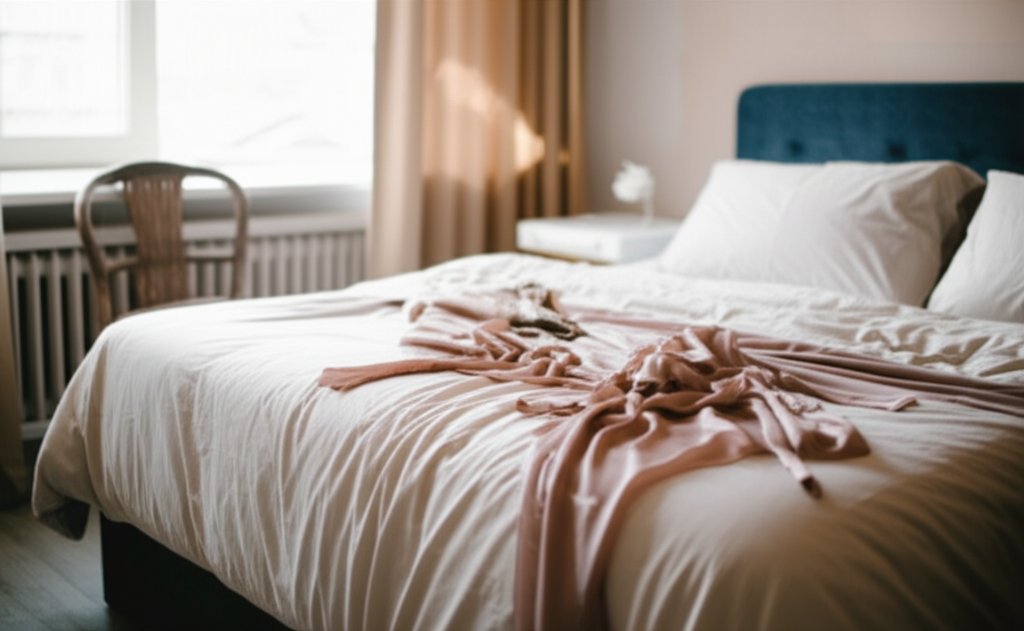
- A Clean, Tidy Background: A nicely made bed, a cozy corner, or a simple, uncluttered wall works best.
Step-by-Step Guide: How to Take Boudoir Photos With Your iPhone
Let’s get down to the practical steps. We’ll walk through each part of the process, making it easy to follow and execute.
Step 1: Setting the Mood and Environment
Before you even pick up your iPhone, create a space where you feel relaxed and beautiful. This is crucial for genuine expression in your photos.
- Choose Your Location: Find a spot with good natural light. A window is perfect. Avoid direct, harsh sunlight, which can create unflattering shadows. Overcast days are often ideal for soft, even light.
- Prepare Your Background: Ensure the area you’ll be shooting in is clean and visually appealing. Tidy up clutter. Make your bed, arrange pillows, or clear a wall space.
- Set the Ambiance: Dim the main lights, light a candle (safely!), put on some music you love, and perhaps spritz a favorite perfume. The goal is to feel comfortable, pampered, and sensual.
- Gather Your Outfits and Props: Have everything ready so you can easily switch between looks without breaking your flow.
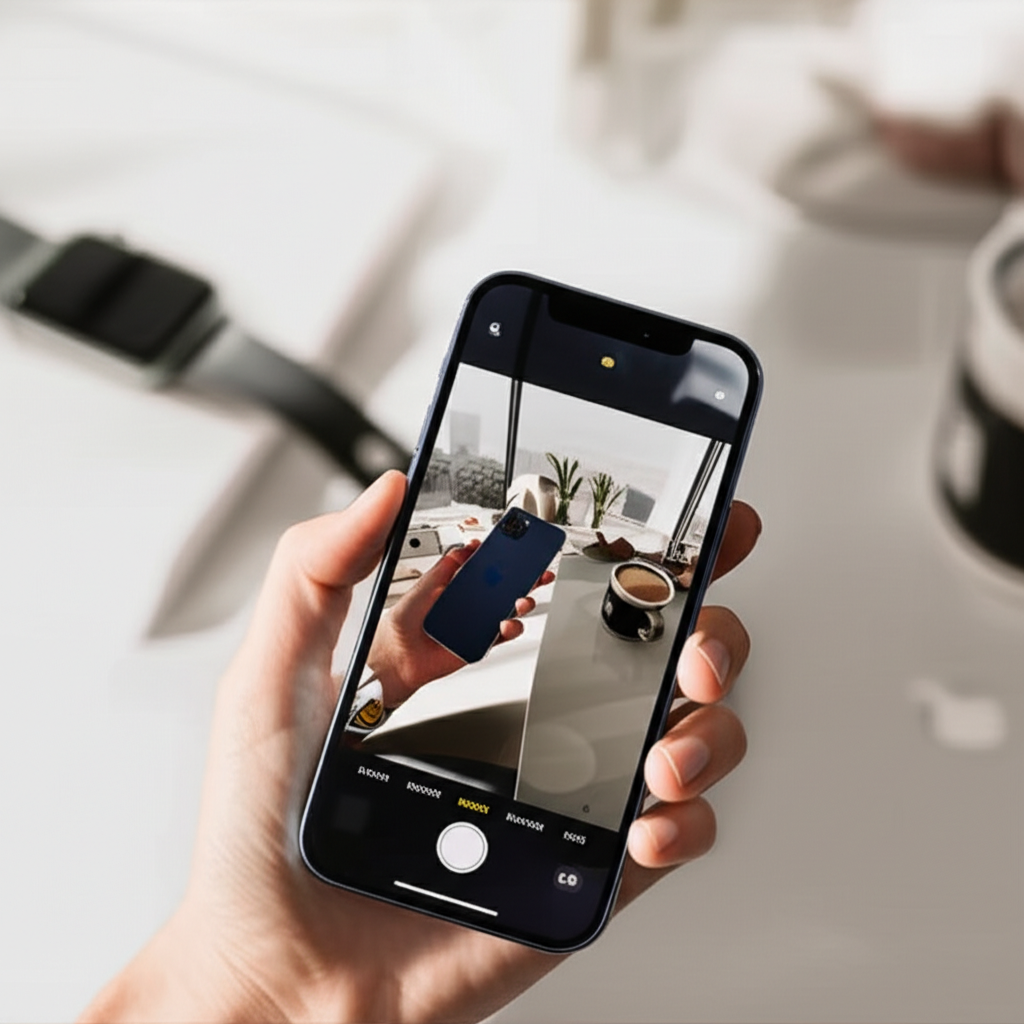
Step 2: Mastering Your iPhone Camera Settings
Your iPhone camera has built-in features that are perfect for boudoir photography. You don’t need to be a tech wizard to use them effectively.
- Use Portrait Mode: This is your secret weapon for creating a beautiful bokeh (blurred background) effect, which isolates you and makes your subject stand out. It mimics the look of professional cameras.
- Adjust Focus and Exposure: Tap on your iPhone screen where you want the camera to focus. You’ll see a sun icon appear; slide your finger up or down to adjust the brightness (exposure). If the scene is too dark, slide up to brighten it; if it’s too bright, slide down.
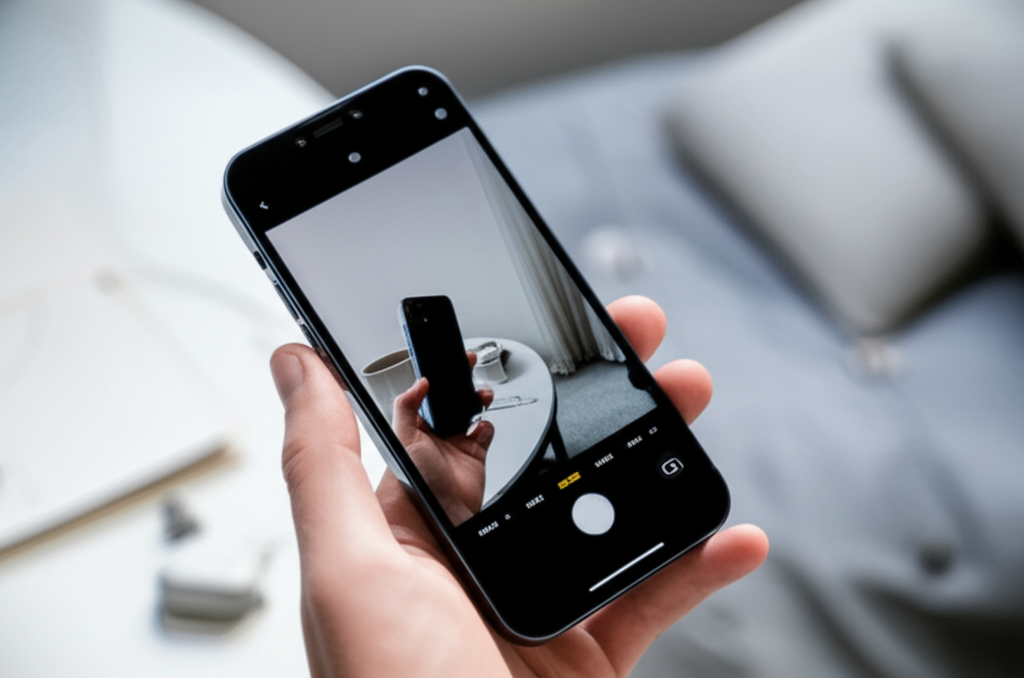
- Leverage the Grid: Go to your iPhone’s Settings > Camera and turn on the Grid. This helps with composition, allowing you to use the Rule of Thirds for more dynamic and visually pleasing shots.
- The Zoom Lens (If Available): If your iPhone has multiple lenses (like a telephoto lens), use the 2x or 3x zoom. This can offer a more flattering perspective and help you capture details without distortion. Avoid digital zoom as it degrades image quality.
- Night Mode (If Needed): If you’re shooting in lower light and your iPhone automatically activates Night Mode (indicated by a yellow moon icon), allow it to do so. It will take a few seconds longer but will capture much better detail in dim conditions.
Step 3: Posing and Composition for Stunning Results
Posing can feel awkward, but the goal is to feel natural and confident. Focus on expressing yourself rather than striking rigid poses.
- Embrace Natural Movement: Think about how you naturally move and interact with your surroundings. Gentle curves, leaning, or reaching can create more dynamic and flattering lines than stiff, straight poses.
- Play with Angles: Don’t be afraid to experiment with different angles. Shooting slightly from above can be slimming, while shooting from below can create a powerful, confident look.
- Focus on Curves and Lines: Use your body to create soft, flowing lines. Arch your back gently, turn your shoulders away from the camera, or cross your legs to accentuate your shape.
- The Power of the Gaze: Where are you looking? Direct eye contact with the camera can be incredibly intimate and powerful. Looking away, perhaps towards the light or a soft gaze, can create a more dreamy, pensive mood.
- Use Your Hands: Hands can be expressive. Tuck them gently near your face, run them through your hair, or rest them softly on your body. Avoid tense, clenched fists.
- Experiment with Different Outfits: A flowing robe offers different posing opportunities than a fitted slip. Play with how the fabric drapes and moves.
Step 4: Capturing the Shots (Self-Portraits & Assisted Shots)
Whether you’re shooting solo or with a helper, the process is about creating the right moment.
- For Self-Portraits:
- Tripod Placement: Position your tripod so your iPhone is at your eye level or slightly above. Experiment with different heights and angles.
- Use the Timer or Remote: Set your iPhone timer (3, 5, or 10 seconds) or use a remote shutter. This gives you time to get into your pose after pressing the button.
- Take Multiple Shots: Don’t just take one photo. Take a burst of photos as you move slightly or change your expression. This increases your chances of capturing a perfect moment.
- Experiment with Framing: Move closer or further away. Try full-body shots, mid-shots, and close-ups of details like your shoulders, neck, or hands.
- With a Helper (Friend or Partner):
- Communicate Clearly: Explain what you want. Show them examples if possible.
- Guide Them on Focus and Exposure: Ask them to tap on your face to focus and adjust the brightness as needed.
- Direct Them on Angles: Let them know if you want shots from above, at eye level, or from a different perspective.
- Encourage Their Input: They might see a beautiful moment you don’t.
Step 5: Post-Processing for That Extra Sparkle
A little editing can go a long way in enhancing your boudoir photos. Your iPhone’s built-in Photos app is powerful enough for most adjustments.
- Cropping and Straightening: Use the crop tool to refine your composition or straighten a tilted horizon.
- Adjusting Brightness and Contrast: Fine-tune the exposure to ensure your subject is well-lit and that there’s good contrast between light and shadow.
- Color and White Balance: If the colors look off, adjust the white balance to make skin tones appear natural. A slight warmth can be flattering.
- Sharpening (Use Sparingly): A touch of sharpening can bring out detail, but too much can make the image look unnatural.
- Retouching (Optional): For minor blemishes, you can use the retouching or healing tools available in some editing apps. Keep it subtle; the goal is enhancement, not drastic alteration.
- Recommended Apps: While the Photos app is great, apps like VSCO, Snapseed, or Adobe Lightroom Mobile offer more advanced editing tools for free.
The Importance of Lighting in Boudoir Photography
Lighting is arguably the most critical element in any photography, and boudoir is no exception. Soft, flattering light can sculpt your features and create a dreamy, intimate atmosphere.
Understanding Light Sources:
- Natural Light: As mentioned, this is your best option. Position yourself facing a window. The light should illuminate you softly, creating gentle shadows that add dimension without being harsh.
- Window Light Direction:
- Facing the Window: This provides direct, even light on your face and body.
- Side Lighting: Position yourself with the window to your side. This creates more dramatic shadows and highlights, adding depth and contour.
- Backlighting: If the light is behind you, you can create a beautiful silhouette or a halo effect if the light is diffused. This requires careful exposure adjustment to ensure your face isn’t too dark.
- Artificial Light (Use with Caution): If natural light isn’t available, a soft, diffused artificial light source can work. Avoid overhead lights that cast unflattering shadows. A lamp with a soft lampshade placed to the side can be a substitute.
For the best results, experiment with how the light falls on your body. See how different angles change the way your features are presented. Soft light is generally more forgiving and flattering for boudoir.
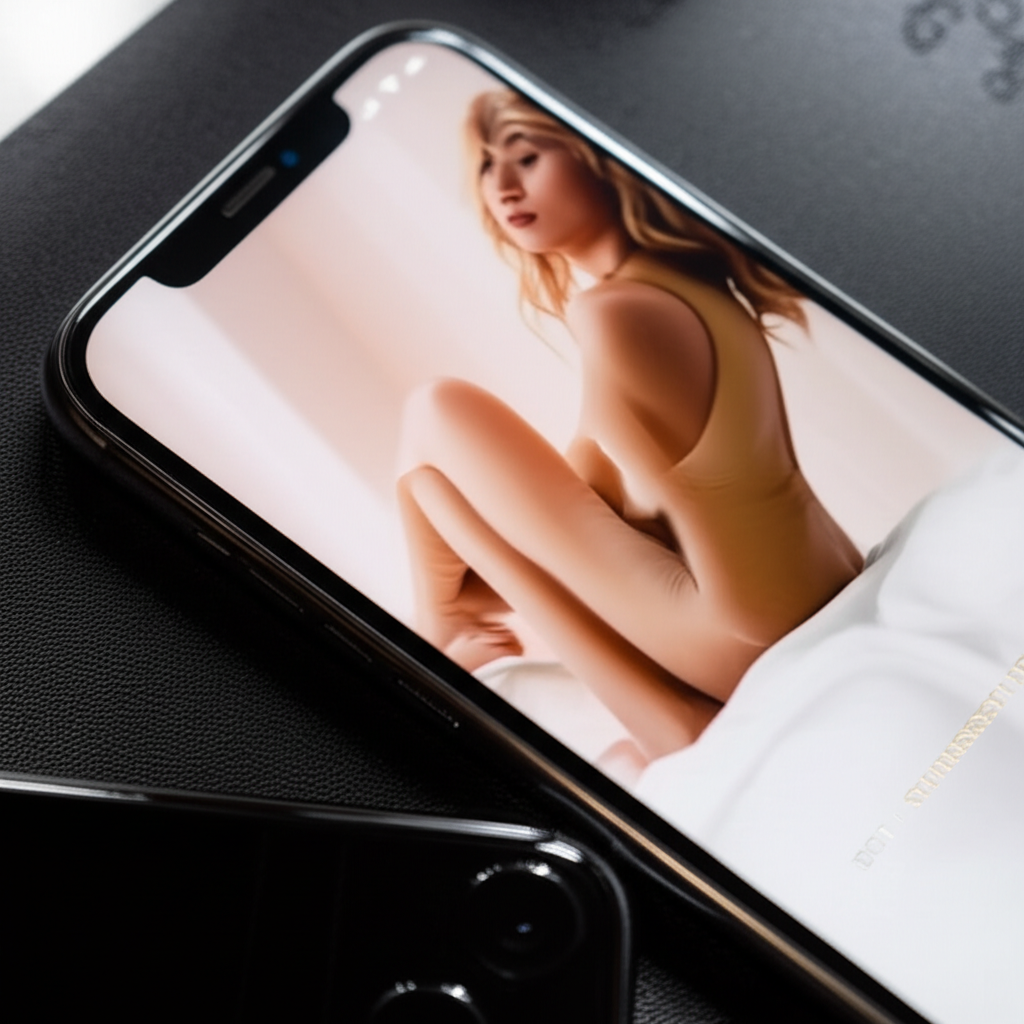
Posing Inspiration: What to Do in Front of the Lens
Feeling unsure about what to do with your body? Here are some simple yet effective posing ideas to get you started.
Classic and Flattering Poses:
- The Gentle Lean: Lean against a wall, a headboard, or even just lean forward slightly. This can create elegant lines.
- The Reclined Pose: Lie down on your bed or a soft surface. Experiment with propping yourself up on your elbows, lying on your back, or on your side.
- The Chair Pose: Sit on the edge of a chair, bed, or stool. Cross your legs, lean forward, or drape an arm over the back.
- The Over-the-Shoulder Glance: Turn your back to the camera and glance over your shoulder. This is a classic for a reason!
- Focus on the Eyes: Even if your body isn’t fully in frame, a close-up shot focusing on your eyes and expression can be incredibly powerful.
- Embrace the Flow: If you’re wearing a robe or a flowy garment, play with how it moves. Twirl gently, let it fall open, or wrap yourself in it.
Remember to breathe and relax. Your genuine emotions will shine through. If a pose feels uncomfortable, change it. The most beautiful photos come from a place of ease.
Choosing the Right iPhone Model for Boudoir
While this guide is for all iPhone users, some models offer features that can enhance your boudoir photography experience. However, even older models are capable!
| iPhone Model Series | Key Features for Boudoir | Considerations |
|---|---|---|
| iPhone 14 Pro / 15 Pro Series | Advanced ProRAW format for maximum editing flexibility, larger sensors for better low-light performance, Cinematic Mode for depth effects. | Higher cost, but offers professional-grade control. |
| iPhone 14 / 15 Series | Excellent Portrait Mode, improved low-light capabilities, Photonic Engine for better detail. | Great balance of features and price. |
| iPhone 13 Series | Strong Portrait Mode, good low-light performance, Cinematic Mode. | Still very capable, often available at a better price point. |
| Older Models (iPhone 11, SE, etc.) | Capable of good results with natural light and careful composition. Portrait Mode available on many. | May require more effort in post-processing, especially in low light. |
No matter which iPhone you have, focusing on the techniques of lighting, posing, and composition will yield beautiful results. The most important factor is your comfort and confidence.
Tips for Creating an Empowering Experience
Boudoir photography is as much about how you feel as how you look. Here’s how to make the experience empowering and enjoyable.
- Focus on Self-Love: Approach this as an act of self-care and self-appreciation. Celebrate your body and your unique beauty.
- Set Realistic Expectations: Your photos don’t need to look like a magazine spread. They should look like you, in your most beautiful and confident moments.
- Listen to Your Body: If a pose feels uncomfortable or a particular outfit isn’t working, it’s okay to stop and adjust. Your comfort is paramount.
- Don’t Compare: Resist the urge to compare your photos to others. This is your personal journey and your unique story.
- Play Music: Create a playlist that makes you feel amazing, confident, and relaxed.
- Stay Hydrated and Nourished: Feeling your best physically can translate into your photos.
Troubleshooting Common iPhone Boudoir Photo Issues
Even with the best intentions, you might run into a few hiccups. Here’s how to fix them.
- Blurry Photos:
- Cause: Camera shake, moving too much, or low light.
- Solution: Use a tripod or prop your iPhone on a stable surface. Use the timer or a remote shutter. Ensure you have enough light.
- Photos Too Dark or Too Bright:
- Cause: Incorrect exposure setting.
- Solution: Tap on your subject on the iPhone screen to focus, then slide the sun icon up to brighten or down to darken before taking the shot.
- Unflattering Shadows:
- Cause: Harsh, direct lighting or light source directly overhead.
- Solution: Move closer to a window with soft, diffused light. Avoid direct sunlight or harsh overhead lights. If using artificial light, ensure it’s soft and diffused.
- Background Distractions:
- Cause: Cluttered or busy background.
- Solution: Tidy up the shooting area. Use Portrait Mode to blur the background. Position yourself so distracting elements are out of frame.
- Skin Texture Issues:
- Cause: Harsh light or over-editing.
- Solution: Soften the light. In editing, use retouching tools sparingly. A slight blur can sometimes soften skin texture naturally, but don’t overdo it.
Frequently Asked Questions About iPhone Boudoir Photos
Q1: Do I need a special app to take boudoir photos with my iPhone?
No, you don’t! Your iPhone’s built-in Camera app is very capable, especially with features like Portrait Mode. Many great editing apps are available if you want more advanced options, but they aren’t essential to start.
Q2: How can I get good lighting if I don’t have a lot of natural light?
If natural light is limited, try using a soft, diffused artificial light source like a lamp with a soft lampshade. Position it to the side of you, not directly overhead, to avoid harsh shadows. Experiment with different light placements to see what’s most flattering.
Q3: What if I feel awkward or shy while taking photos?
That’s completely normal! Start by playing some music you love. Focus on one or two poses that feel comfortable. Remember, this is about celebrating yourself. Take breaks if you need them. The more you practice, the more natural it will feel.
Q4: How do I make sure my photos look artistic and not just like selfies?
Focus on composition and lighting. Use Portrait Mode for a blurred background. Experiment with angles and try to tell a story with your poses. Think about the mood you want to create. Using a tripod and a remote shutter also helps achieve a more polished look.
Q5: Can I really get professional-looking results with just my iPhone?
Absolutely! While professional equipment offers more control, the iPhone’s camera technology is incredibly advanced. With thoughtful use of natural light, creative posing, and a bit of editing, you can achieve stunning, artistic results that rival professional shots, especially for personal, intimate photography.
Q6: What kind of outfits are best for iPhone boudoir photos?
The best outfits are ones that make you feel confident and beautiful! This can range from traditional lingerie to a comfortable oversized t-shirt, a silky robe, or stylish loungewear. The goal is to feel empowered, so choose whatever resonates with you.
Q7: Should I use the front or back camera on my iPhone?
For the best quality, always use the back camera. It has a superior lens and sensor. If you’re taking self-portraits, a tripod and a remote shutter (or your Apple Watch) are essential to allow you to use the back camera effectively.
Conclusion: Embracing Your Inner Radiance
Taking boudoir photos with your iPhone is a beautiful and accessible way to celebrate yourself, boost your confidence, and create intimate, personal art. You’ve learned that with the right approach to lighting, posing, and using your iPhone’s capabilities, you can achieve stunning results right from the comfort of your own space. Remember, the most important ingredient is your comfort and self-love. Don’t be afraid to experiment, have fun, and embrace the process. Your iPhone is a powerful tool, and you are the most beautiful subject. Go forth and capture your own unique radiance!